Uncategorized

Fish Drawing

Hello Guys !

Today we are going to be drawing some fishes and a scenery to go with !

Things we need = colours pencils or colours , marker , A4 sheet and pencil .

So let’s get started !

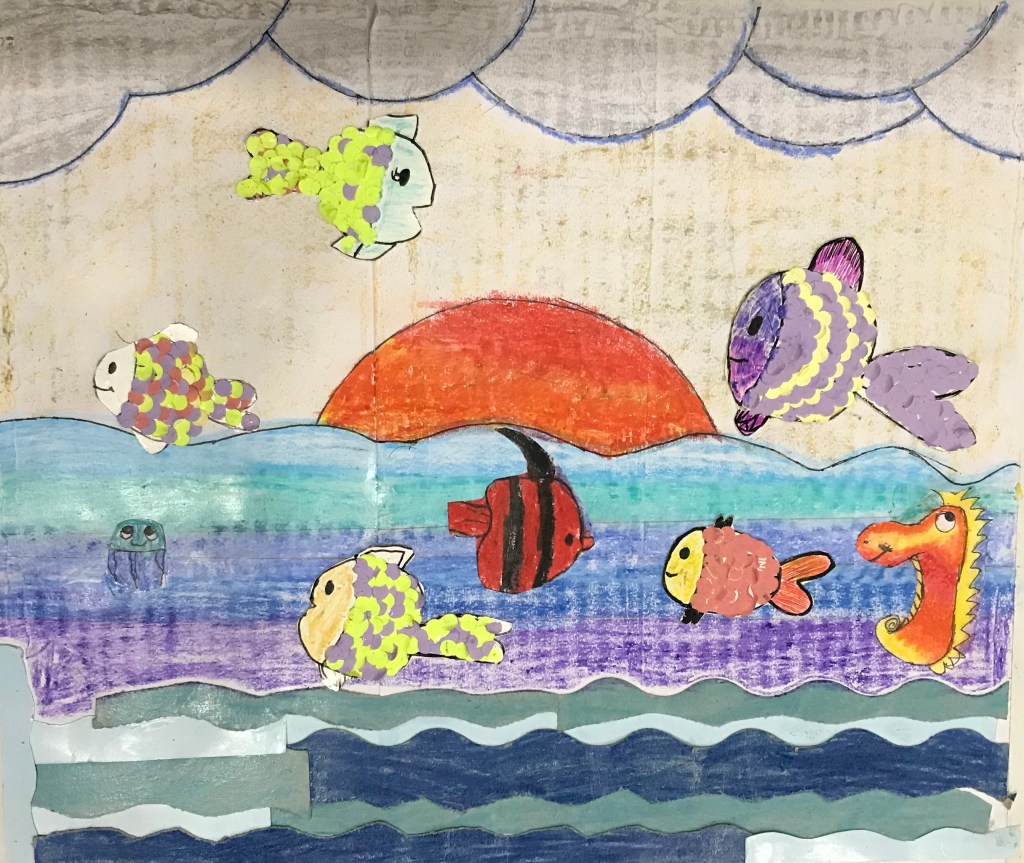
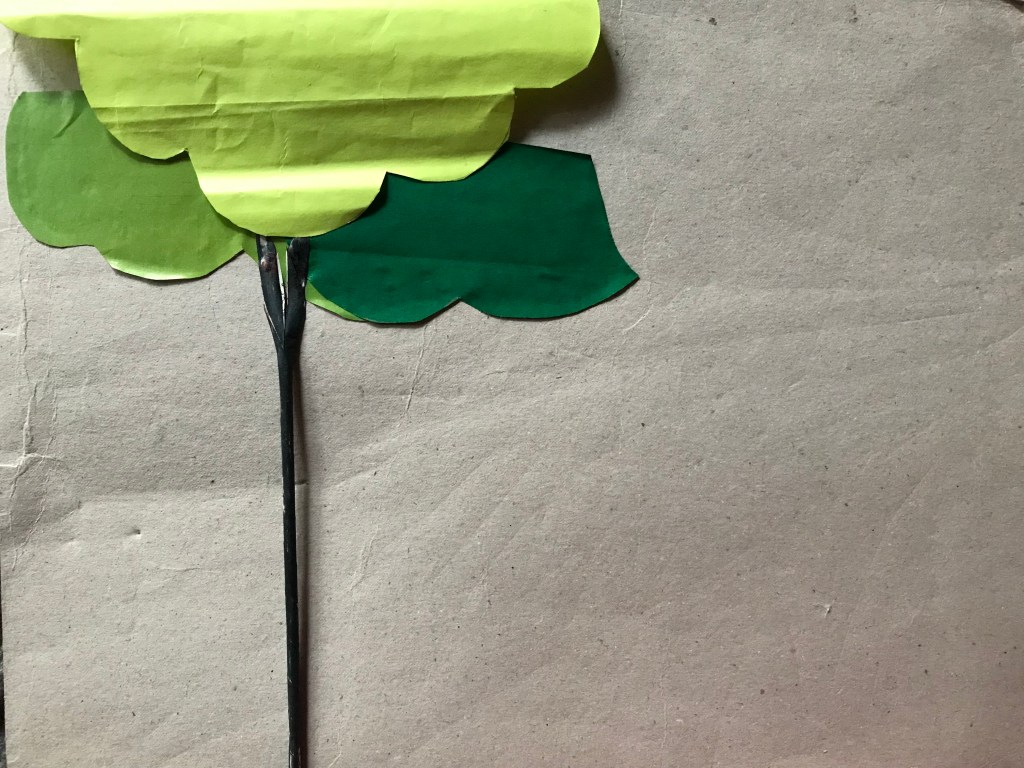
How to draw the scenery :

Step 1 : First , take a page and draw the ocean waves .

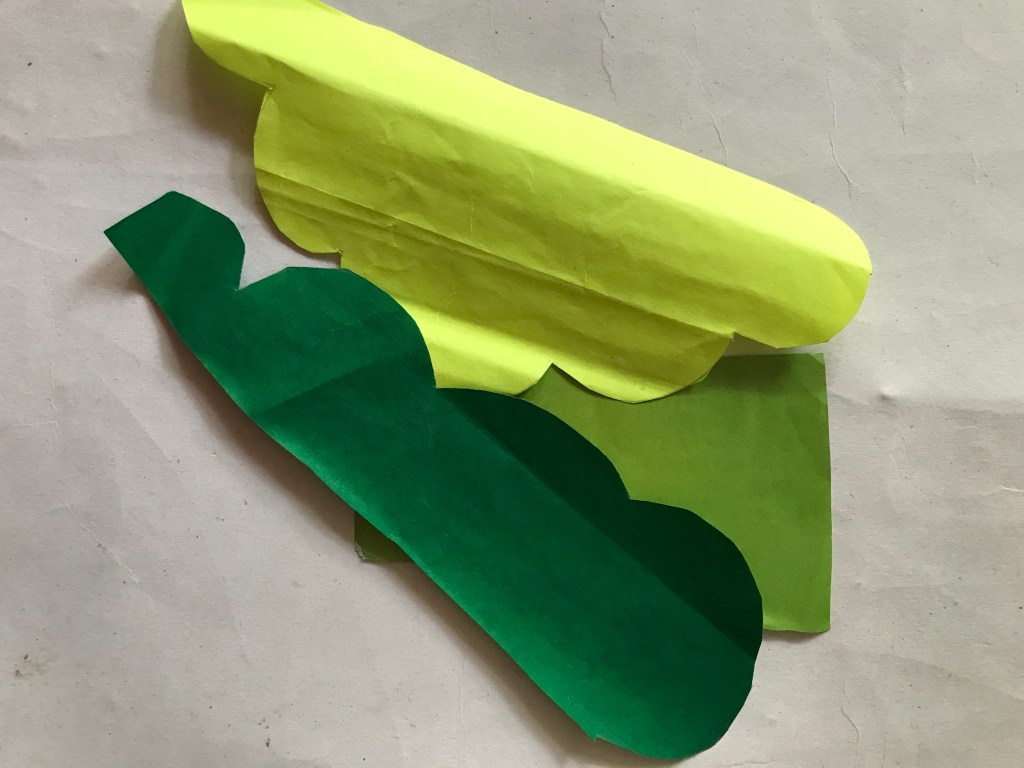
Step 2 : Second , draw the clouds .

Step 3 : Third , Outline the ocean waves and clouds .

Step 4 : Fourth , colour the ocean waves and the clouds .

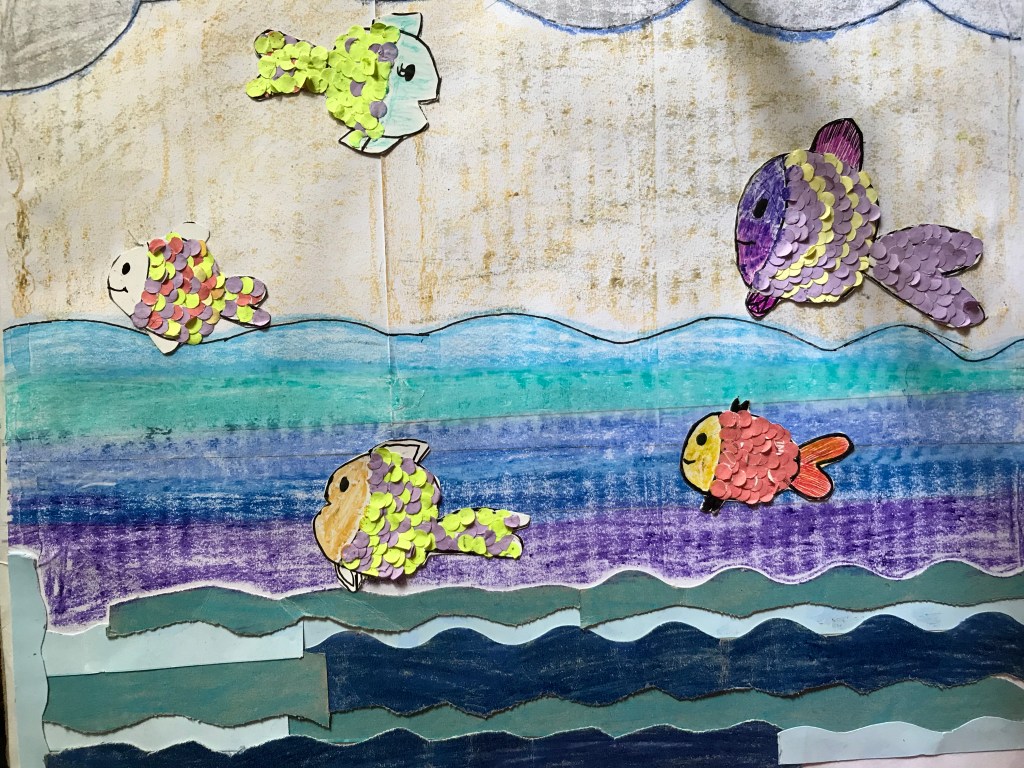
How to draw the fishes :

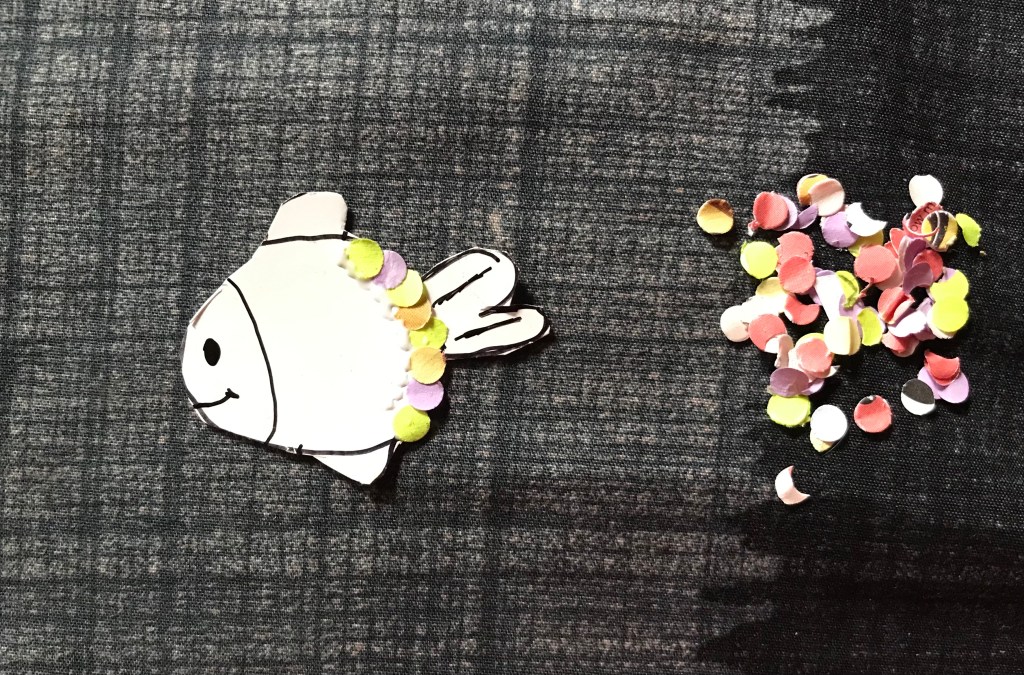
Step 1 : First , take a sheet of paper draw the fishes on it .

Step 2 : Second , Outline the fishes , Then colour the fishes .

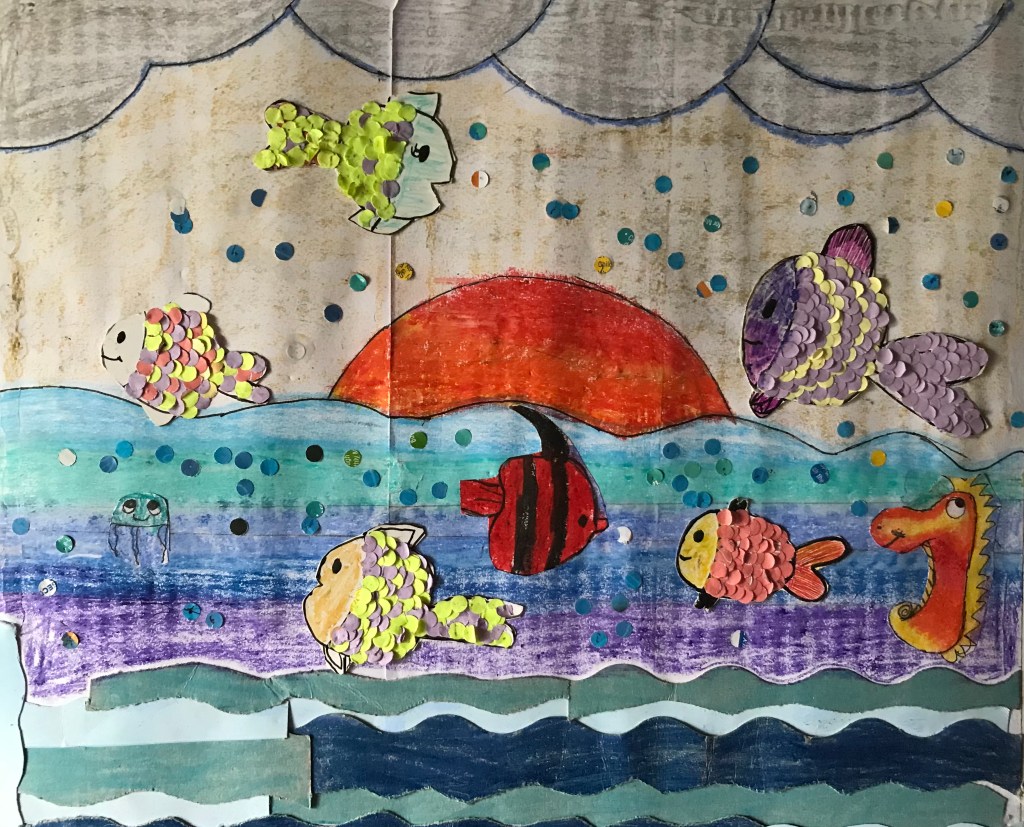
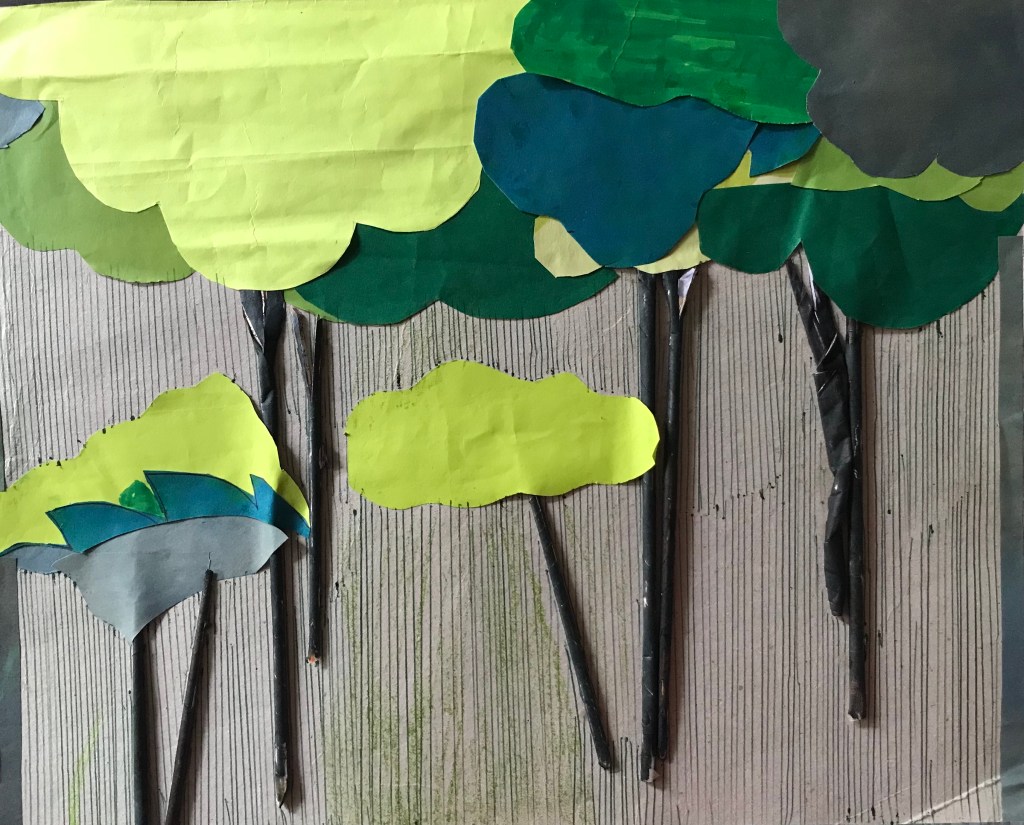
Step 3 : Third , Cut out the fishes and paste them on the drawing .

And we are done with the drawing , So we hope you like the drawing !

Thank you and goodbye !

Uncategorized

The Importance of Books Drawing

Hi Guys !

Today we are going to be drawing Some Books !

: Books play a role introducing students to a world of imagination providing Knowledge of the outside world . Books improves reading . The benefits of reading books are – functioning of the brain , Vocabulary , Mind , Knowledge and Concentration .

Things we need = Ruler , pen , pencil , oil pastels or colour pencils .

So let’s get started !

Step 1 : First , Take a blank paper and draw the border of the page .

Step 2 : Second , on the border draw books and slabs as bookshelves .

Step 3 : Third , after that is done write the importance of books which are given in the paragraph .

Step 4 : Fourth , write slogans like , “ A room with books is like a body without a soul ” .

Step 5 : Fifth , draw some pictures of books and colour them .

And we are done with the picture ! So we hope you like it !

Thank you and Goodbye !

Uncategorized

Designer Pot

Hi guys !

Today we are going to drawing this pot with designs on it !

Things we need = oil pastels , pencil , pen and black poster or black oil pastel !

So let’s get started !

Step 1 : First , draw a pot with a pencil and out line it with a pen .

Step 2 :Second , Take some colourful oil pastels ( different colours )and colour the entire page in different different areas .

Step 3 : Third , next take a black poster or black oil pastel and slowly cover the entire page in black colour .

Step 4 : Fourth , take an empty pen refill or a toothpick to draw shapes and things on the pot for drawing .

Also We have another design for the designer pot !

Things we need = black paint and oil pastels !

Let’s Get started !

Step 1 : First , Cover the entire page in black paint and let it dry some time .

Step 2 : Second , Take some oil pastels colours draw some ovals .

Step 3 : Third , Draw some smaller ovals inside the big oval .

We are done with the drawing ! So we hope you like it !

Let us know if you likes the first design or the second design !

Thank you and Goodbye !

Uncategorized

Hibiscus In Hindi

Hi guys !

Today we are going to be learning how to draw a Hibiscus !

About Hibiscus :

Hibiscus is a genus of flowering plants in the mallow family, Malvaceae. The genus is quite large, comprising several hundred species that are native to warm temperate, subtropical and tropical regions throughout the world .

Things we need = Oil pastels , Pen , Pencil , Marker .

So let’s get started !

Step 1 : First , draw the five petals of the Hibiscus .

Step 2 : Second , draw the stem of the Hibiscus .

Step 3 : Third , draw the small dots or small stems on the stem of the Hibiscus .

Step 4 : Fourth , draw the main stem of the Hibiscus .

Step 5 : Fifth , Next do some colouring or add some mountains , clouds and pond if you want extra scenery .

Uncategorized

Tree Craft Ideas

Hello guys !

Today we are going to be making a tree craft idea ! for kids easy to learn and make it .

Things we need = colour paper , black hard colour paper and colours pencils / pens / oil pastels .

So let’s get started !

Step 1 : First , take some different shades of green colour papers and cut them into the shape of leaves of the tree .

Step 2 : Second , stick the cutting pieces of different green colured papers / leaves of the trees upside down on the paper .

Step 3 : Third , take a black hard colour paper and roll them into the shape into a cylinder for the stems is the tree .

Step 4 : Fourth , glue the stems onto the tree starting of the tree .

Step 5: Fifth , and colour the ground with green

And we are done with the drawing. So we hope you like it !

Thank you and stay safe !